Sadly, all of my current knitting is secret and can't be blogged about, lest the recipients find my blog and the secrets be spoiled. Sorry. I'll blog it all later. In the meantime, I have been making women's suffrage stitch markers.
"Um, what?," you say.
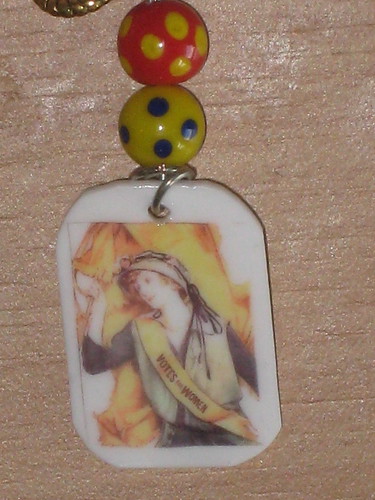
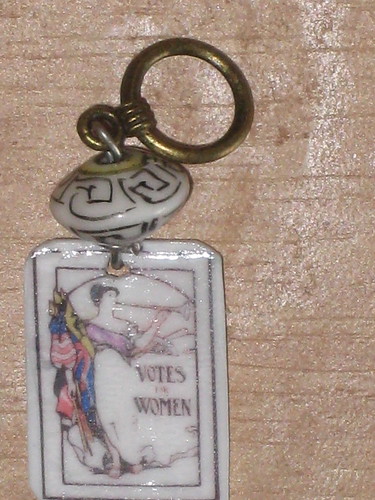
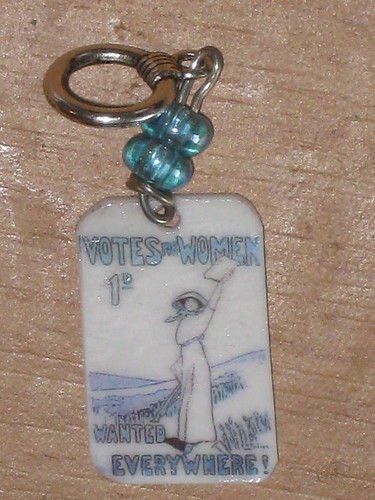
Women's suffrage stitch markers! When I am not blogging, knitting, or fooling around on Ravelry, I am writing a dissertation on early 20th century history. And it has occurred to me, while writing a dissertation on early 20th century history, that the women's suffrage movement produced quite a lot of awesome posters and postcards. I've been meaning to make
Shrinky Dink Stitch Markers, and it occurred to me that I could use the same method to stitch marker charms with women's suffrage posters on them. Here are some of the results:
\
I also made some Obama stitch markers, seen here mixed in with some women's suffrage ones:

The technique here is exactly the same as for the photo stitch markers in the link above, but I thought I'd walk people through the process of finding the images, in case you want to make your own political poster stitch markers. It's worth noting that I don't own any of these images and don't know who does, so these are for personal use only.
Step 1: Find Images.
I did a
google image search on phrases that I thought would be likely to yield women's suffrage posters. My first search was on the phrase "women's suffrage poster." Then I tried "votes for women."
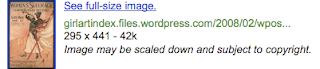
Once you have found a good image through your google image search, click on it. This will take you to a page that has a google frame and then shows you the image in context. Here's a screen shot of an example:
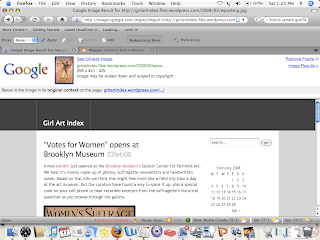
Don't pay any attention to the image in context. Instead, look at the frame. You want to click on the link that says "See full-size image":
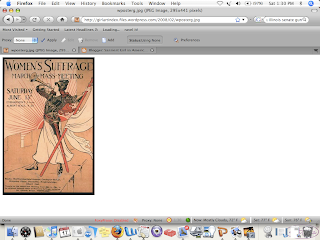
Once you click on that link, it will take you to a copy of the image, set against a plain white background:
Step 2: Grab Image
Ok, what you want to do now is take a screen shot, not of the whole screen, but just of your image. I don't know how to do that on a P.C., but here is how you do it on a Mac. First, you press , shift and 4, all at the same time. (If your keyboard doesn't have an key, try pushing alt, shift and 4, all at the same time.)
Once you have done that, your cursor should change from an arrow into a target sign. Position the target sign at the top left corner of the image you want to grab and hold down the mouse button. Continue to hold it down while you drag the target to the bottom left corner of the image. The entire image should be covered by a transparent gray box. When you have covered the image, release the button. If your volume is turned up, you should hear a sound like the sound of a camera taking a picture.
You've now saved your image. On my computer, it's saved on the desktop as Picture *, where * is a number. My last screen shot is saved as "users/myname/desktop/picture 61". Your first screenshot will presumably be saved as "users/yourname/desktop/picture 1".
Step 3: Import the Photo into your photo editing software
For my first bunch of shrinky dinks, I imported the images into iPhoto, lightened them there, and then opened them in Powerpoint, where I arranged them on a sheet in order to print them on my shrinky dink paper. This worked fine. Just go to "file" and click on "add to library". From there, select the file name of your image, and it will import it right into iPhoto. Then you can click on the "adjust" icon and adjust the brightness. You want to make your image less bright, because the colors intensify a lot in the shrinking process.
However, I realized that you can also edit your photos directly in Powerpoint. To do that, go to "insert/ picture/ from file." Click on the file name. It will insert the photo onto your powerpoint slide. Drag and click a corner to shrink it down to the size you want, and then use the formating pallate to adjust the brightness. It's somewhat counterintuitive: you have to
increase the brightness number to get it to be less bright. I found that somewhere between 70 and 75% was perfect. If you can't find the formatting palatte, go to "format", click on "picture," and then click on the "picture" tab.
Here's a picture of what my Powerpoint shrinky dink slide looked:
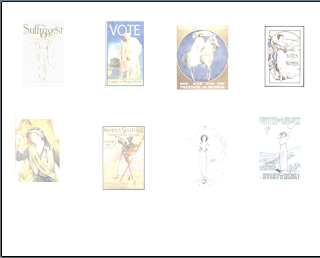
Notice that the colors look washed out: that's what you want.
And that's it. Other than that, you just follow the instructions in the
Knit Powers to Peace tutorial I linked to above. You can use this to make stitch markers out of any image that you grab from the internet. I'm kicking around doing some other early-Twentieth-Century political posters. I will post them if I get around to making them.


